
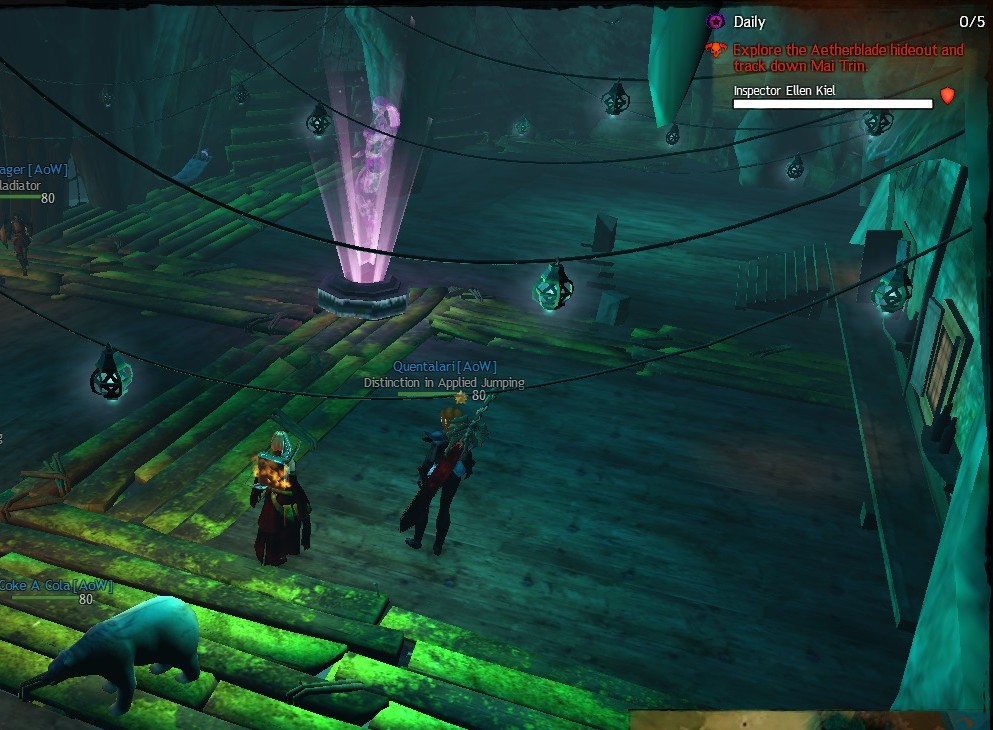
A group of my friends came with me last night to checkout the new dungeon “Atherblade Retreat” in Guild Wars 2. It was quite an adventure!
Did we randomly wander into SWTOR??
After fighting through an event where you need to kill waves of pirates you run upstairs to this area, which has a dancing holo. This room was pretty funny since all of us had/do play SWTOR. Also the music in this room was a bit different than most of the dungeon. The music here sounded a lot like someone playing with the Unbreakable Choir Bell. It was a nice resting point to look around in the dungeon some.

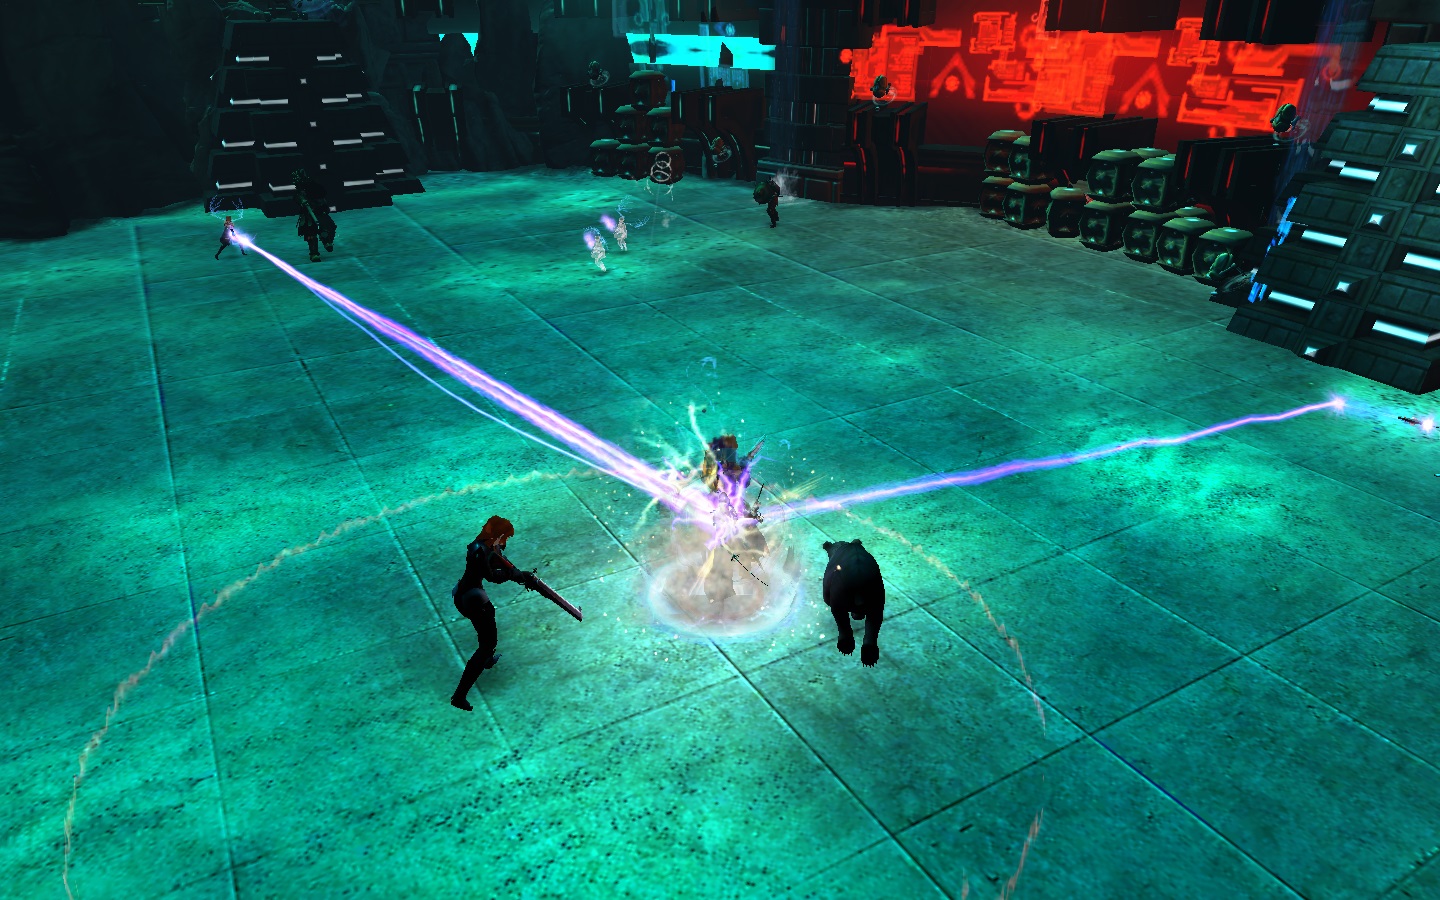
Fighting the Asuran Frizz was a ton of fun. The fight starts pretty normally with Frizz and a couple of adds. Then he goes into the tube in the middle of the room and the real fun starts. There are two golems who run around and you need to dps them down while avoiding the pink beams of electrical death. After those two are dead you get walls of pink electrical death and two more golems. Then lastly walls and beams, with another two golems.
Overall the fight wasn’t too rough. It took some time to get the rhythm of the last phase down though because the walls and beams rotate at different speeds. Moving the camera around to look down on us helped a lot, and we got better at keeping the golems away from the walls and beams (they get buffs when they hit the walls and beams). I also had issues with sometimes not quite getting up to the top box on the stacks. Probably my giant Norn feet getting in the way again.
I didn’t think to get a screen of the mini jumping puzzle during the dungeon but we were all a bit disappointed in it. Basically it is more of a bouncing puzzle than a jumping challenge. If you played Dragon Ball at all you were introduced to the stem vents which will propel you around. The mini jumping puzzle was basically bouncing from one vent to the next to get to the next area. Despite the reduced difficulty I still managed to miss the last jump and fall to my death (my giant Norn feet must have shrunk there).
Then finally we reach Mai Trin and her First Mate. At first we tried killing the First Mate first, but Mai Trin just rezed him right up so that was not a good tactic. The better plan was dpsing Horrik down to about half his life and then focusing on Mai Trin.
Being in melee with Mair Trin is scary.
Mai Trin herself is a bit of a pain and I am not entirely sure her mechanics were working 100% correctly. She has stacks of shielding which reduce her damage taken and also with a certain amounts of stacks she gets immune to bleeds, stuns, and knockbacks. The only way to remove the stacks is to get her to stand in the lightening circles the First Mate shoots. Except she also teleports around and when you can’t stun or knock her into them… well it can get pretty interesting.
The part I think might have been working improperly is at the beginning of the fight, and after each cannon phase, she would start with either 10, 6, 2, or 0 stacks. The only real issue was when she would start with 10 stacks because she would be immune to everything. In those cases getting her into the lightening circles long enough to remove a stack or two took a fair amount of effort.
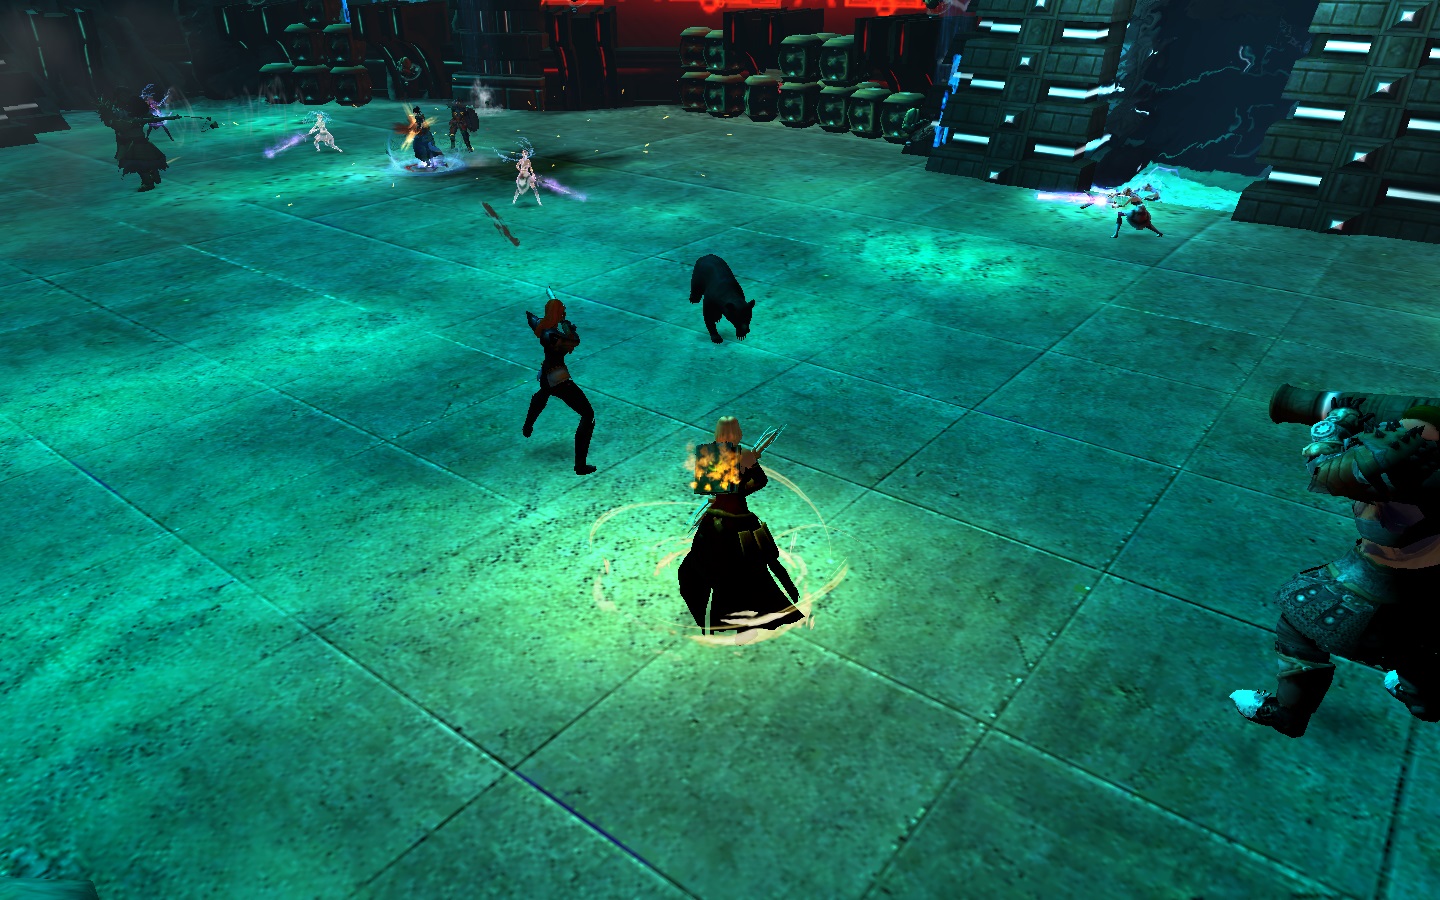
There also were some issues with sometimes when Mai Trin teleported around, our target would automatically switch to the First Mate, which is why we left him at half health at the beginning instead of a lower percentage. Overall the fight is a lot of fun. The cannon phases are mostly just about paying attention and planning your movement and dodges appropriately.
Overall the whole dungeon was a ton of fun and I am looking forward to going back again 🙂
